
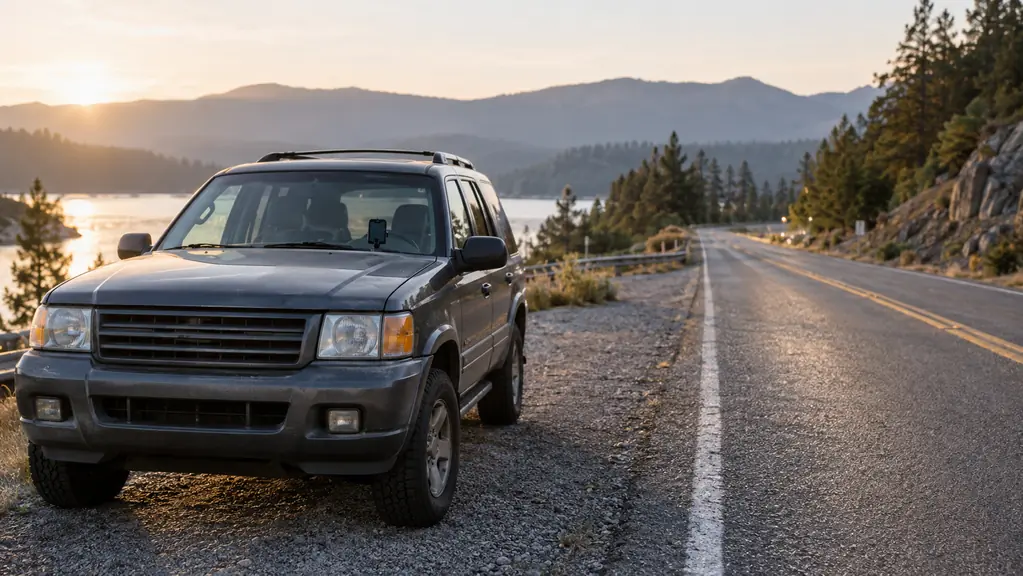
When I took a sales job that puts me on the road for about thirty thousand miles a year, the first thing I learned was that my 2016 Highlander has no way to show me a map. It handles phone calls over Bluetooth, but there is no CarPlay, and I am not ready to replace the factory radio in a car with 191,000 miles on it. So the phone does the navigating, and for the first few months I treated it like a loose object. It sat on the passenger seat, slid onto the floor on a curve, and slid again in an afternoon thunderstorm. Every time I reached for it I hated it. The fix was a mount, and after one cheap vent clip snapped and a no-name suction cup dropped the phone onto the gear shifter, the mount that finally stayed is a Miracase magnetic phone holder with a suction cup base on my windshield.
I am not here to sell you on a brand. A mount is a simple tool, and most decent ones will work once they are installed right. I will use the Miracase on my windshield as the example because it is the one that has stayed put through four months and about four thousand miles of driving. The order of the steps is the part people get wrong. Skip one of them, and you will blame the mount when the real problem was the surface, the angle, or the metal plate behind the phone.
The mount that finally stayed put
The Miracase magnetic phone holder with a suction cup base sits at the lower corner of the windshield, where you can read the next turn without moving your head, and the magnet lets you grab the phone one-handed when you need it. If you are tired of fishing your phone out from between the seat and the console, this is the style of mount that finally stayed put for me.
Amazon Check Today's Price on Amazon →How I Mounted Mine, Step by Step
Step 1: Pick the spot before you stick anything
Sit in the driver seat with the car parked and your hands on the wheel. Look out at the road, then at your mirrors, then back. Notice where your eyes travel, because that is the neighborhood where the phone belongs. It has to sit high enough that you can read the next instruction on the screen with a small eye movement, not a head drop. If you have to move your chin to see the map, no mount in the world will fix it.
For a suction cup mount you usually have two good homes. One is the windshield. The other is a flat patch of dashboard without much texture. I use the lower left corner of the windshield, just above the dash line, and that leaves the rest of the glass clear for the road. A few states have rules about what can hang on the windshield, so check yours before you commit. Whichever side you choose, keep the mount out of the path of the passenger airbag and off a dashboard spot that bakes in direct sun all afternoon, because heat is what makes cheap mounts give up.
Two more things to look for while you are choosing the spot. Do not cover the defroster vent, because an iced windshield on a January morning will make you move the phone permanently. And if your phone runs hot while it navigates, mount it where the air conditioning can reach it instead of against the glass, because a hot phone is a slow phone.
Step 2: Clean the surface like it matters, because it does
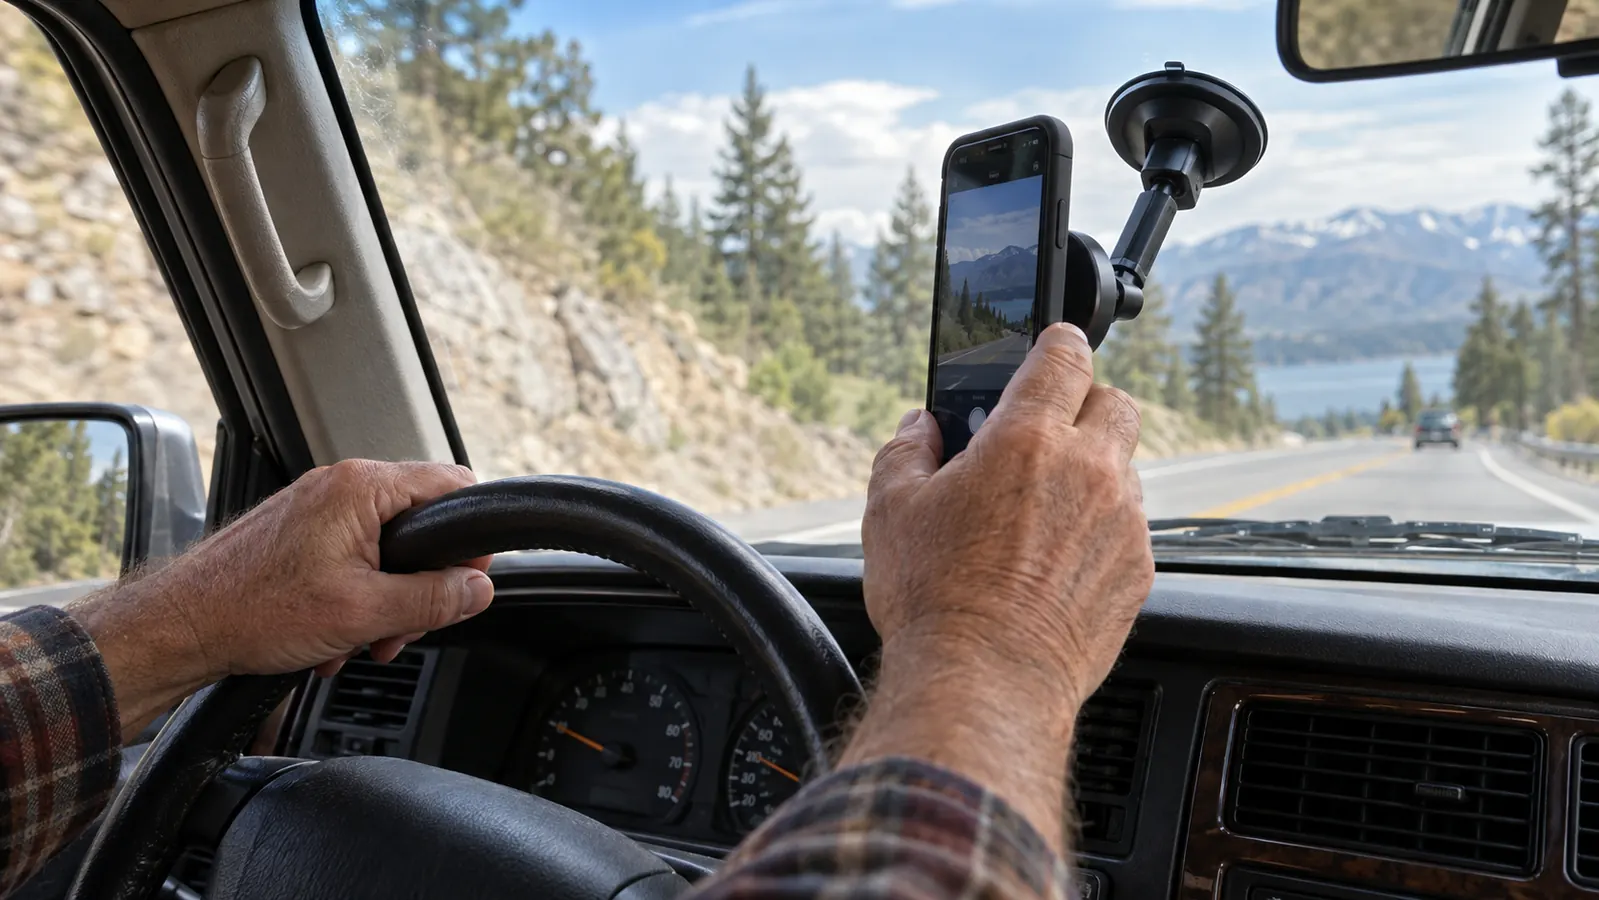
Most suction cups do not fail because the mount is weak. They fail because the glass is dirty. The cup makes an airtight seal, and that seal cannot happen through the oily film left by sunscreen, dashboard polish, and the stuff that off-gasses from a hot windshield. My no-name mount fell off twice in one week. Both times I had forgotten to clean the glass.
Use rubbing alcohol on a paper towel, or a glass cleaner that leaves no waxy residue. Skip anything that promises to shine or protect, because shine is exactly what breaks the seal. Wipe the whole area where the cup will sit, not just the middle, then give it thirty seconds to dry. The dashboard needs the same treatment if you mount there. Vinyl coatings and dressings sit on the surface for weeks, and a suction cup cannot bite through them.
If the surface is textured or curved, no amount of cleaning will give you a vacuum. Run a finger across the dash. If you can feel the grain, the cup will crawl loose overnight. Move to a smoother spot or plan on a different style of mount.
Step 3: Seat the suction cup and let it grab
Press the cup flat with the center of your palm, then operate the locking lever or twist collar. The order matters: flat first, then locked. If your mount has no lever, follow the little diagram that came in the box rather than my summary. The lever is what turns a weak press-on cup into a real grip, and it is the difference between a mount that survives summer and one that ends up on the floor mat.
After a minute, tug the cup gently. If it lifts at the edge, take it off, clean the same spot again, and start over instead of pressing it back onto the same film. Warm glass also helps. If you install in winter, let the car heater run a few minutes first.
Understand why that lever matters. I parked in a lot for six hours on a ninety-seven degree day, came back, and the Miracase had not moved a millimeter. A cheap press-on mount would have been lying in the cup holder by lunch. A locking cup is a mechanical grip, and a mechanical grip does not relax when the cabin temperature climbs.
Step 4: Get the magnetic side right
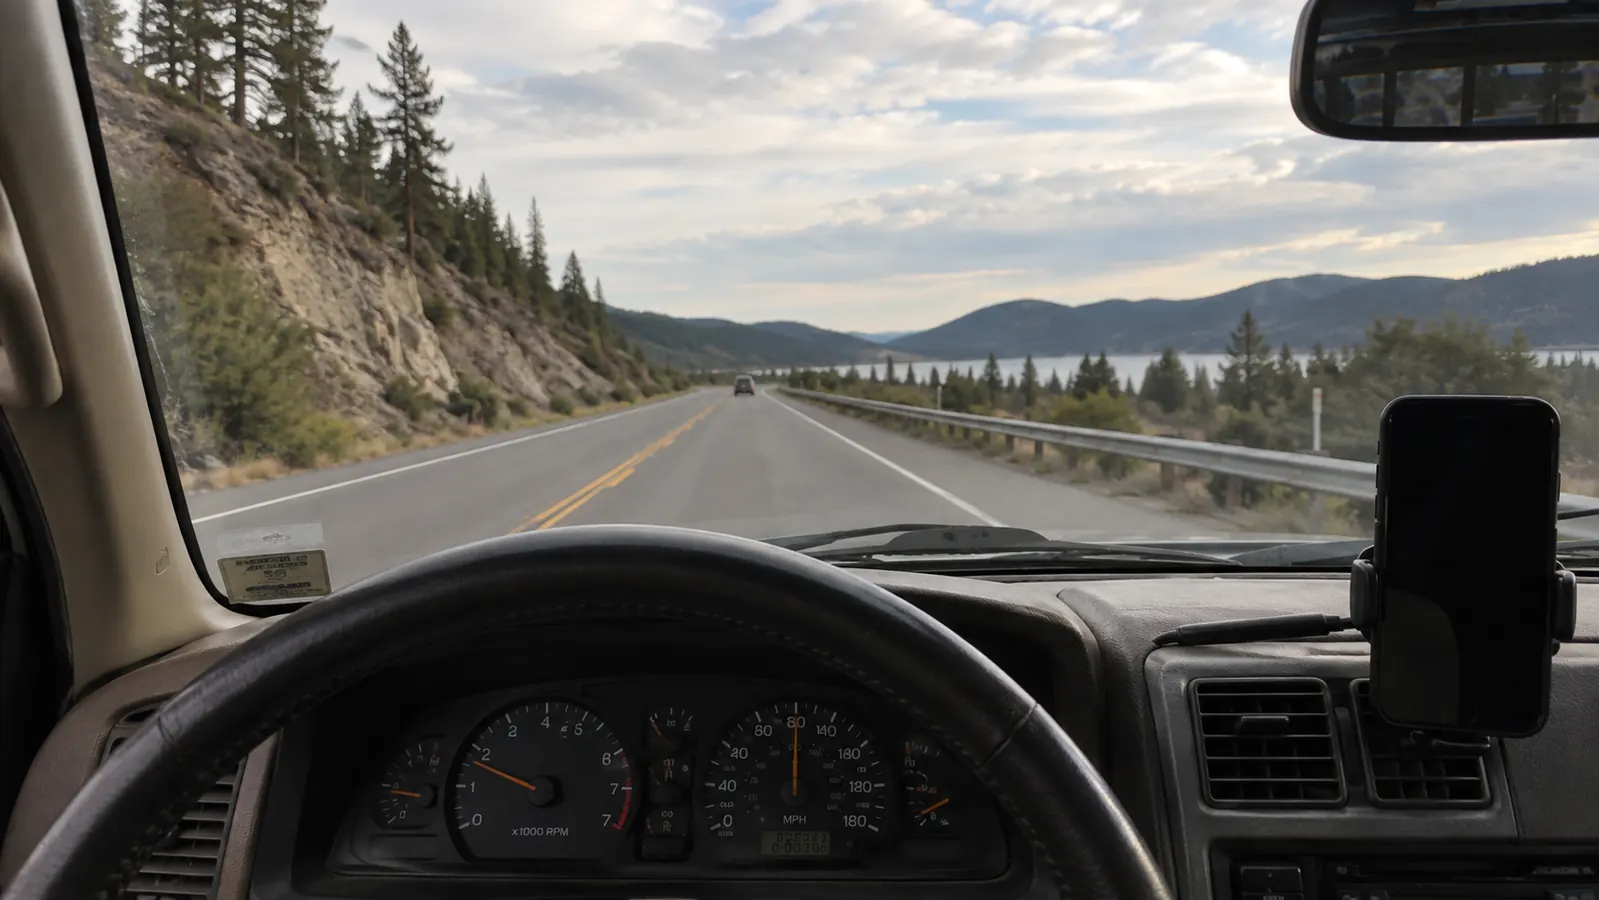
The suction cup holds the mount, but the magnet holds the phone, and this is where most people introduce a problem the mount never caused. Newer phones have magnets built into the back and simply snap on. Everything else uses a thin metal plate or ring against the back of the phone. The cleanest setup is to stick the plate to the back of the phone and put the case over it, because the plate stays put and the case still closes flat. Follow the paper that came with the mount if it disagrees with me.
Plate placement is the detail everyone rushes. The plate needs to sit centered behind the magnet at the middle of the holder. Put it too high or too low and the phone will hang tilted, which reads as broken every time you glance at it. The trick is to hold the bare phone against the mount first, let the magnet pull it to center, then mark the spot through the case with a dot of tape. Phones with built-in magnets skip this step entirely.
Finish by aiming the screen away from glare. Angle it so you are not staring at a reflection of the rear window or the dome light. Lean the top of the phone slightly toward the driver and away from the glass, and most of the evening glare disappears. Set the angle while parked, because you will not have the patience to do it at a stoplight.
Step 5: Plug in before you finish, then take the long way home
Run the charging cable before you call the job done. The cord needs to reach the phone with slack for a sharp turn, but not so much that it dangles in front of the gear shifter. I route mine from the power point in the center console, along the passenger side, and up the side of the Miracase mount, with the extra length tucked under the floor mat. If the USB port in your car cannot keep the map app charged while it runs, use the 12 volt socket with a decent two-port adapter. A navigating phone uses more power than it takes in from most factory USB ports, and a slow drain leaves you with a dead phone and a mount you can see.
Now take the long way home. You are testing three things: whether the phone stays put on uneven pavement, whether the mount hums against the glass, and whether you can read the screen with a quick glance. If the mount hums, reseat the cup and give the lever another turn. If the phone shudders, the plate is slightly off center, so repeat step four.
For the first week, use your voice instead of your fingers. The whole point of a hands-free mount is keeping both hands on the wheel while you change the song, answer a call, or hear a text read out loud. Set up the voice assistant while parked, then run everything through it. It feels awkward for two days, then it becomes the only way you drive.
What Else Helps
Pair your phone with the car for calls, so the person on the other end comes through the speakers and you never lift the phone from the mount. My Highlander does this over Bluetooth, and the combination of a mount and a paired car is what actually makes a drive hands-free. If your car has no Bluetooth at all, a small Bluetooth receiver plugged into the power point gives you the same result for very little money.
Buy a charging cable that is not from the checkout lane at a gas station. I went through two cheap cables in four months before I bought a braided one, and that one has been in the car for more than a year. When a cable starts charging slowly or not at all, replace it instead of wiggling it. Wiggling a cable is how you end up with a dead phone and a lap full of frustration, and it undoes everything the mount is doing for you.
One more habit: if you park in the sun for hours, take the phone off the mount and put it in the console. A hot phone will refuse to charge, and no mount can fix that.
The mount has not dropped my phone once in about four thousand miles. The two times I found the phone on the seat, both were with the cheap mount, and both were my fault for skipping the alcohol wipe.
Same steps, better odds
The order of the steps matters more than the brand of mount. But if you are shopping for a solid one, the Miracase is the mount on my windshield today, and it is the one I would buy again.
Amazon Check Today's Price on Amazon →