
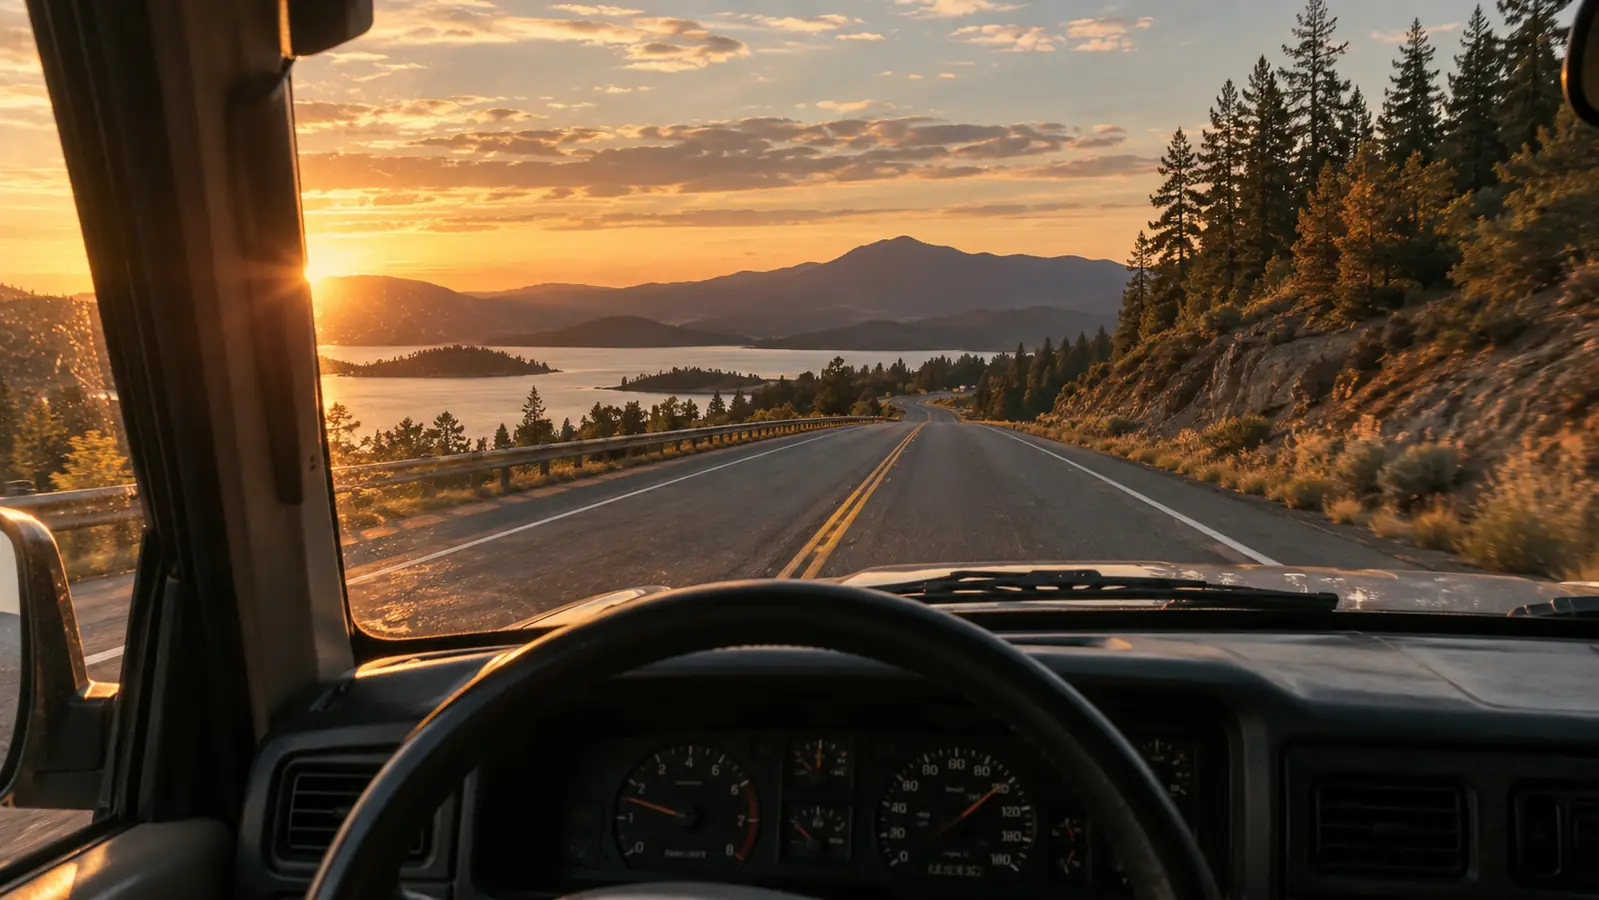
If your car is like mine, the hardest part of owning a dash cam happens before you ever drive with one. You open the box, read the mounting instructions, and then stare at the A-pillar wondering who is supposed to run all that wire. I drive a 2016 Highlander with 191,000 miles on the clock, all of them earned on the same stretch of US-65 south of Springfield. I was not going to pay a shop to install a camera I bought for work. So one Saturday morning I sat in the driver's seat with the REDTIGER F7NP front and rear kit in the open box beside me and worked through the install myself.
The reason so many dash cams end up in the glove box is that people think the job means pulling trim panels and tapping into fuses. It does not have to. The clean way to do this install uses the 12V outlet already in your console, the gap between the windshield and the headliner, and no special tools. The F7NP even ships with the memory card it records to, so there is no trip to an electronics store before you start. What follows is the exact order I used, with the mistakes I made the first time flagged so you can skip them.
What You'll Need Before You Start
You do not need a lift or a professional toolbox for this job. I used a plastic trim tool, a microfiber towel, rubbing alcohol, a small flashlight, and daylight. If your kit did not include a trim tool, a plastic spudger or the rounded corner of an old credit card works fine. Do not use a screwdriver near the headliner, because the fabric tears and the repair costs more than the camera. This is the toolbox of a guy who changes his own oil but has never touched a wiring diagram.
Skip the install fee. Keep the whole kit in the box.
The REDTIGER F7NP front and rear kit includes both cameras and a memory card, so the box is all you need for the job in this guide. Mount it yourself and you keep the camera, learn your car, and save the cost of a shop visit.
Amazon Check Today's Price on Amazon →Step 1: Pick the Mount Spot Before You Peel Anything
The front camera belongs on the passenger side, tucked up behind the rearview mirror. From the driver's seat you barely see it, and nobody walking past the car will either. You want it low enough that the lens sits below the dotted strip at the top of the windshield, which can make video look smeared, and high enough that the hood barely appears in the bottom of the frame.
Do a dry run before you peel any adhesive. Hold the camera in position with the mount in place, drape the power cord down to the 12V outlet so the camera wakes up, and check what the lens sees. The image should be level, with more road than sky and no reflection bouncing off the dashboard. This is the moment to notice that the mount is upside down or that the spot you chose is blocked from behind, not after the tape is permanently on the glass.
Step 2: Clean the Glass, Then Let It Dry
The adhesive on a dash cam mount is aggressive. Get the surface right and the mount will stay put for years. Get it wrong and you are peeling a sticky puck off the glass with a razor blade. Clean the spot with rubbing alcohol on a microfiber towel, then dry it with a second clean towel. Skip any glass cleaner that leaves a waxy film, because the mount is only as good as the bond beneath it.
When the glass is dry, peel the backing off the mount, set it where the dry test told you to put it, and press with firm, steady pressure for a full thirty seconds. If the glass is cold, the bond is weaker. On a humid Missouri morning I let the defroster run for two minutes to take the chill off the windshield before I pressed. Then click the front camera onto the mount and let the adhesive cure for a few minutes before you touch anything else.
Right after the mount is set, check that the camera body clicks into the mount securely and that the lens is free of any plastic film. I left a thin film on the front lens during my dry run and spent ten minutes wondering why the driveway looked hazy. The picture cleared the moment I peeled it off, and from then on it was just a matter of finishing the wiring.
Step 3: Run the Power Wire Out of Sight
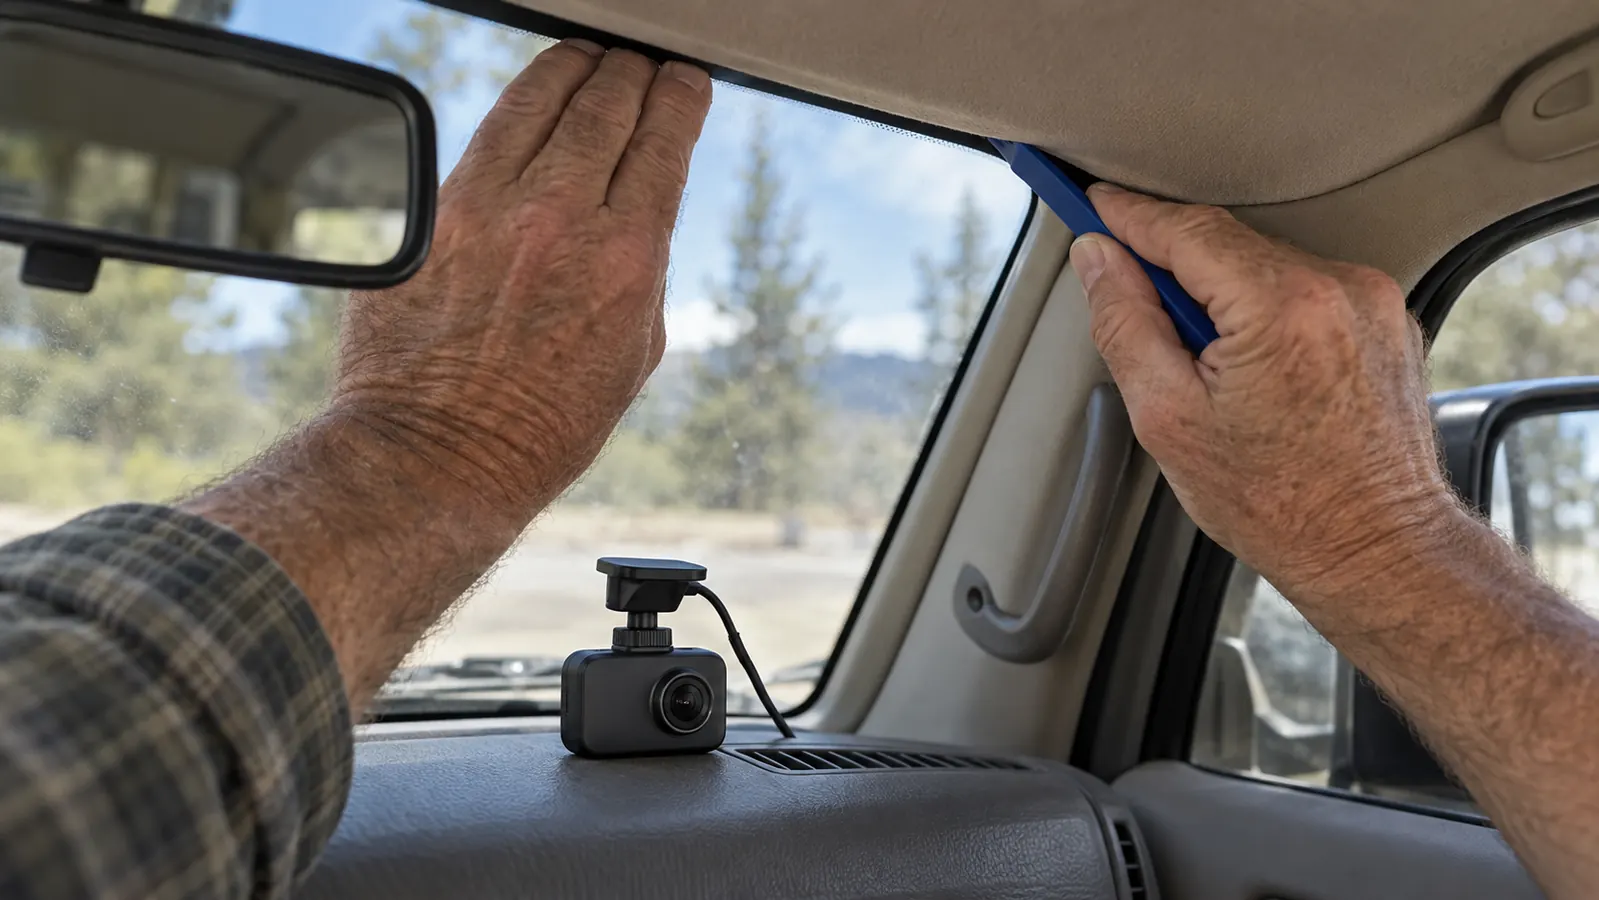
Now for the part people assume is hard: hiding the wire. Plug the power cable into the camera, then tuck the cable into the seam between the windshield and the headliner with your trim tool. That seam looks too tight to accept a wire, but it opens wide enough for the trim tool and then swallows the cable completely. Work along the top of the glass toward the driver's door, pushing the cable in a few inches at a time instead of trying to shove the whole run at once.
When you reach the A-pillar, do not pop that trim panel off and hide the cable behind it. The side curtain airbag is packed in there, and you do not want anything between it and the glass in a crash. Instead, feed the cable down the narrow gap where the pillar trim meets the windshield, then hook it under the rubber door seal along the floor. A few inches of cable will be visible in that seam, which is normal and far safer than the alternative.
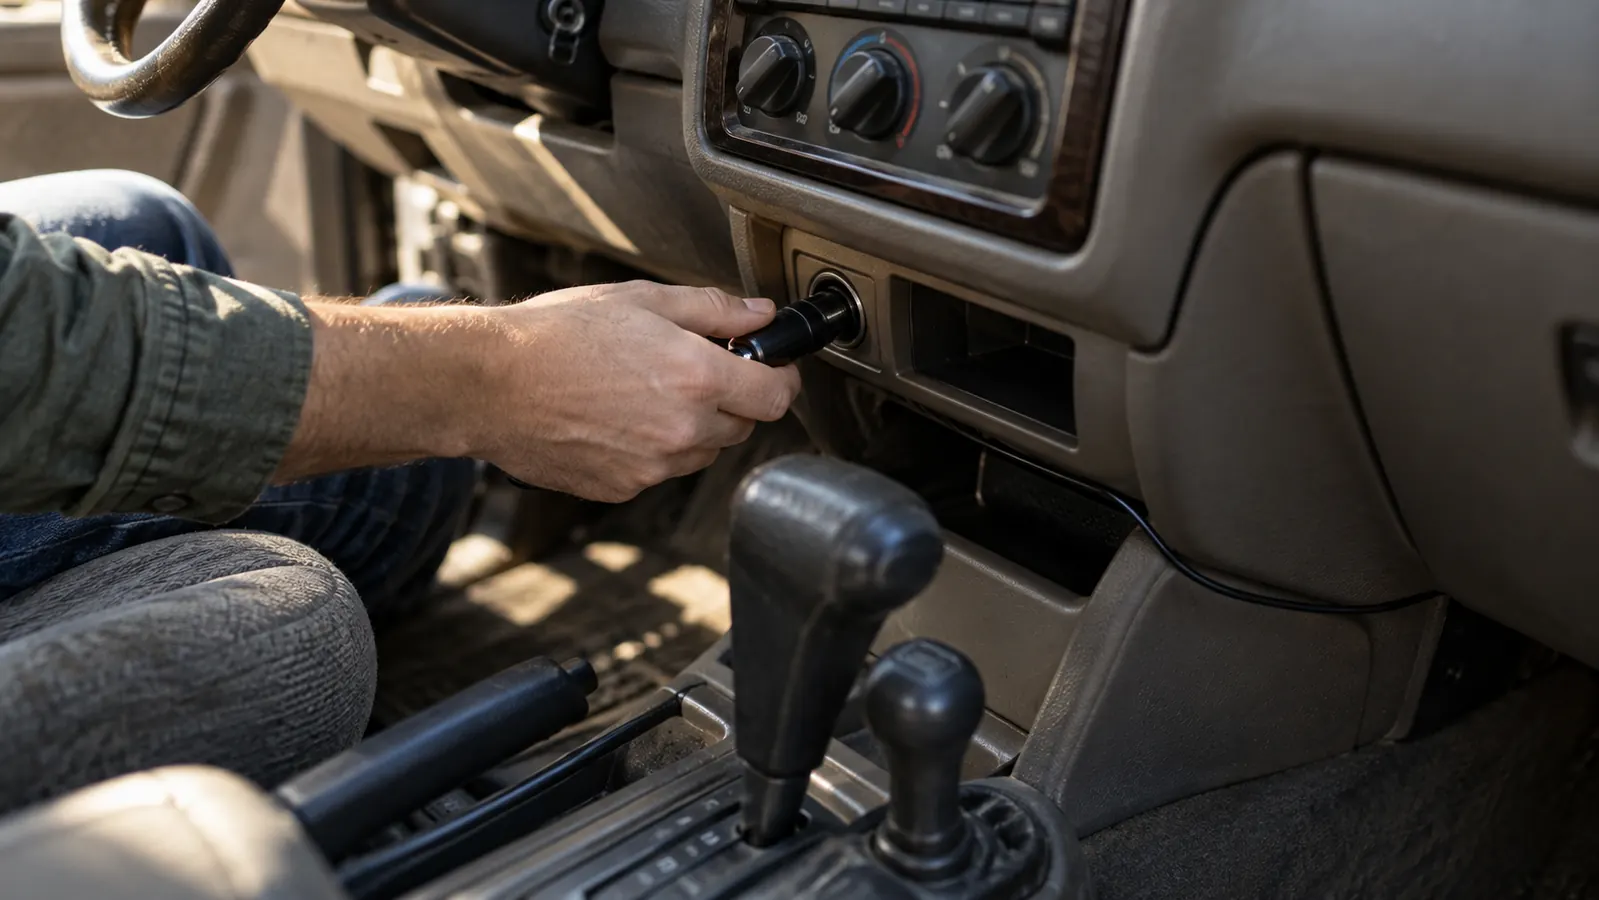
From under the door seal, run the cable beneath the dash and over to your 12V outlet. Leave a loop of slack up under the dash rather than pulling it tight, because the camera end moves when you adjust the mount and the outlet end should never strain against the plug. Push the last bit of cable up out of sight with the trim tool and plug the power adapter into the socket. If the camera lights up and starts recording, the hard part is already done.
Step 4: Route the Rear Camera Cable and Mount the Back Cam
The F7NP is a front and rear kit, which means there is a second camera for the back window and a long cable that connects it to the front unit. Start by uncoiling that cable and plugging it into the back of the front camera, then tuck it into the same headliner seam and work it rearward above the doors. In an SUV the run is longer than in a sedan, but the gap above the trim takes the cable the whole way, and the trim tool keeps it snug.
The only fiddly spot is where the rear cable has to cross from the body of the car to the liftgate. On my Highlander, and on most SUVs, the factory wiring for the rear wiper travels through a short black rubber boot at the top corner of the liftgate. Gently work the boot loose from the body side, feed the camera cable through it, and pop the boot back into place. Take your time here and use the trim tool instead of pliers so you do not tear the rubber.
Clean a spot high on the rear glass, above the headrests and away from the defroster lines if you can manage it, and press the rear camera's mount in place with the same thirty second press. Plug the rear cable into the camera, then check from the driver's seat that the rear lens looks straight down the road. Most rear cameras can be rotated in their mount, so give the image a level horizon before you call it done.
Step 5: Tuck the Slack, Power It Up, and Take a Test Drive
With both cameras mounted, go back over the whole run and tuck anything that has worked its way loose. The trick is to pull up on the headliner slightly with one hand while you push the cable in with the trim tool, so the wire seats deeper and stays put. Check the door seals are back in their original position and that no cable is pinched where the seat slides. Then start the car and plug the camera in. On the first boot it may ask you to format the memory card that came in the box, which clears it for recording. Let it.
The last step is a real test drive, not a trip around the block. Drive your normal route for fifteen or twenty minutes, then pull over and check that both cameras recorded steadily and that the front video took down a readable license plate. One more thing: with the car off and the keys out, check whether the 12V outlet stays live. If it stays live, unplug the dash cam when you park for more than a day or it will drain the battery. If the outlet turns off with the ignition, you can leave it plugged in and never think about it again.
One tip most install guides leave out: set the time and date before the camera goes anywhere near the windshield, or at least before you tighten the mount. Dash cam footage is only useful as evidence if the timestamp is right. The F7NP made this easy from the driver's seat, and it took about a minute. Do it while the camera is still in your hand and you will not be scrolling through menus with the camera stuck at an angle.
What Else Helps
A second memory card is cheap insurance. A dash cam card spends its whole life being written over and erased, and the card that comes with the REDTIGER F7NP will do the job for years. A spare costs little, and it is the difference between pulling tonight's footage to look at and leaving the camera unplugged until the morning.
If the 12V outlet you plan to use is already holding your phone charger, buy a splitter that turns one socket into two. The dash cam pulls very little power, so running the phone and the camera at the same time is not a problem. It saves you from choosing between a charged phone and a recorded drive.
And do not overthink the settings. The F7NP's day one defaults produced clean video from both cameras, and I only changed the loop length and the time stamp after a few days of watching footage. The best dash cam is the one that is actually recording, and the one that is actually recording is the one you mounted this afternoon instead of leaving in the glove box.
Also worth doing: check the camera's field of view after you adjust your seat for a long trip. The angle that looks right in the driveway is not always the angle that captures both lanes when you are merging on US-65 at dusk. I nudged mine down one click after the first drive, and that was the only adjustment I made in six months of daily use.
Forty five minutes after I started, the only visible sign of the REDTIGER F7NP was the camera behind the mirror and the rear unit at the back glass. No wires anywhere.
The Bottom Line
The whole job took me about forty five minutes on a Saturday, including the rear camera and a trip back inside for a pair of pliers I never used. The F7NP has recorded every mile of my regular route since, and the only thing I would do differently is do it sooner. If you can follow a recipe and you keep a clean rag in the garage, you can install this camera. The mechanics and the wiring shops are not needed.
Mount it once and forget it's there.
If you have been putting off a dash cam because the install sounded like a job for a shop, this is the kit to start with. The REDTIGER F7NP front and rear kit comes with both cameras and the card, so the only missing piece is an hour of your Saturday.
Amazon Check Today's Price on Amazon →